From macOS to Linux
So I finally got tired of not having a linux desktop environment to play around with that I had to take the next step. Granted, I do have full Ubuntu servers up and running, but this isn't good enough when you want to distro hop and test new software such as libinput or HiDPI. So like I said, this finally got me to take the plunge. I had to figure out how to dual boot linux on my 2015 mbp 11,5 without destroying any of the macOS data.
| Step 1: | Resize the macOS partition |
|---|
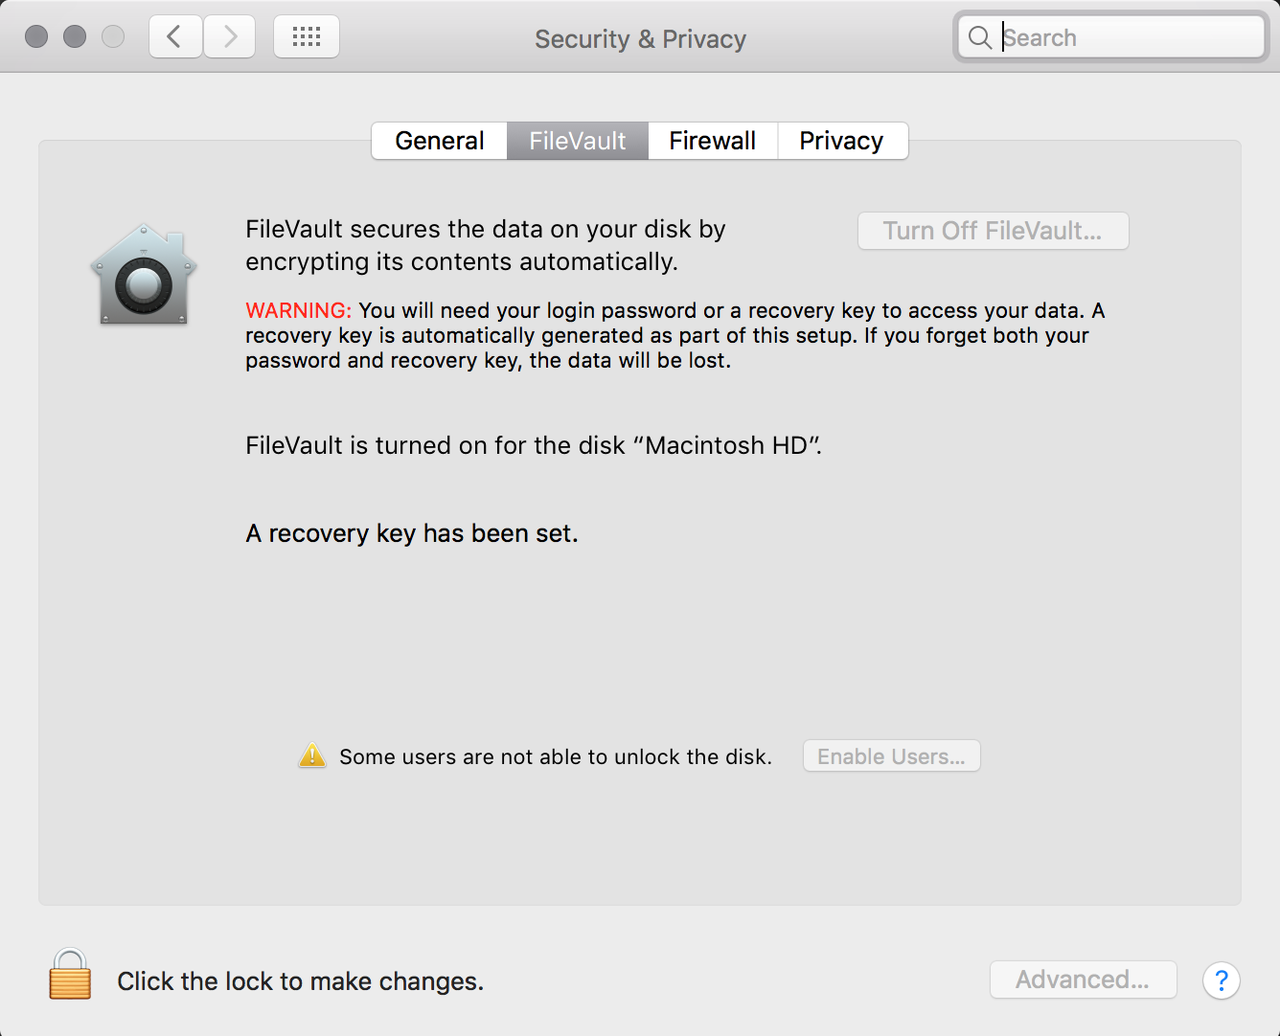
Verify that FileVault is turned off. If not, you will need to disable before you are allowed to resize the macOS partition. Once off, reboot to apply.
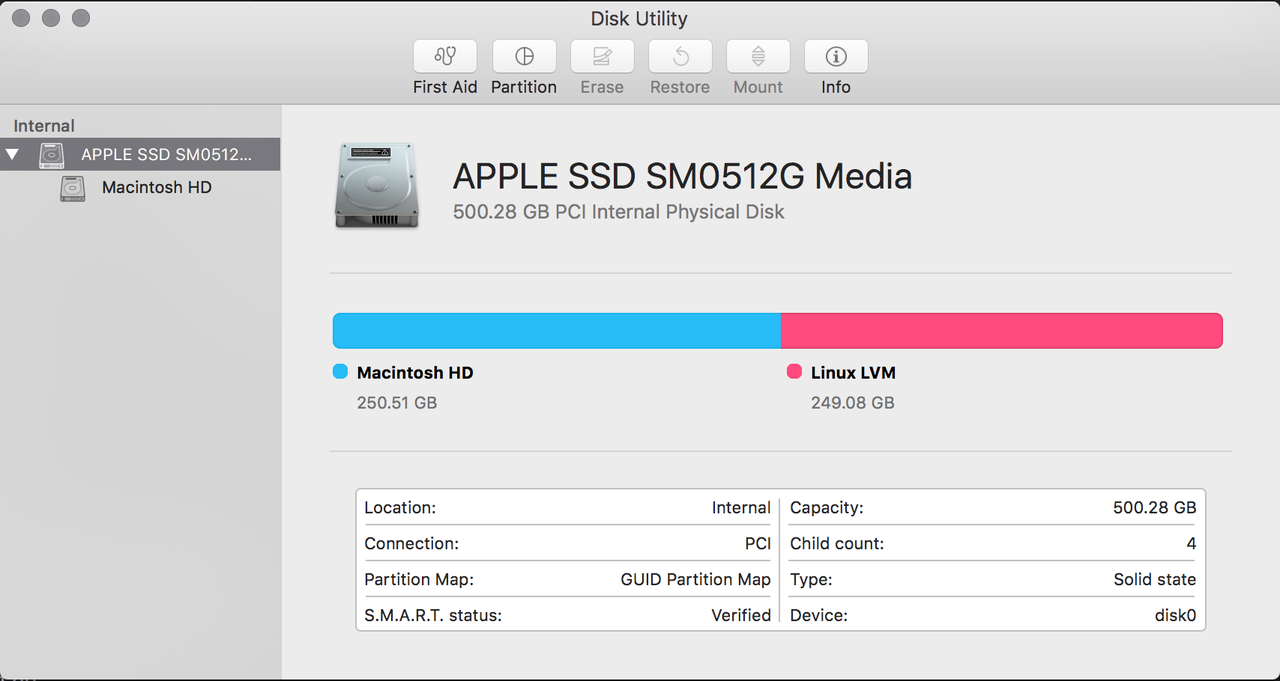
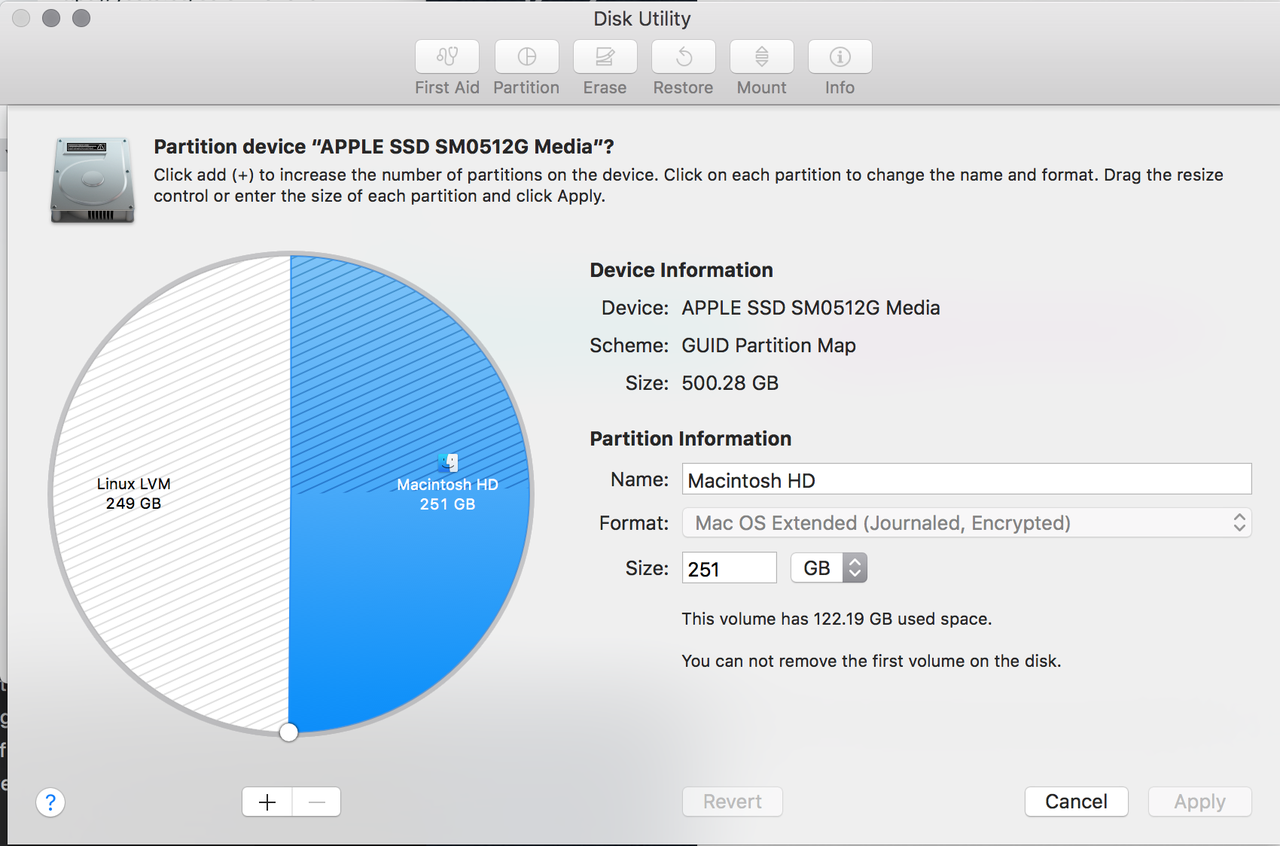
Onec back up and running, launch disk-utility. On the left hand side select the macOS hard drive and choose First Aid. This should present you with a pie chart on which there is a dial you can drag to split up space between partitions. Choose your desired split and then apply.
When resizing is complete, feel free to turn FileVault back on. The rest of the process isn't affected by it.
| Step 2: | Download desired Linux distro |
|---|
In my case, I wanted Arch but didn't want to go through with the hassel of dealing with manually setting up and installing vanilla Arch, so I chose Antergos. At this point, just take the iso you download from your specific distro and create a bootable usb stick to install. In order to acheive this, I just used the dd command. sudo dd bs=4096000 if=/Users/wdeberry/Downloads/antergos-17.6-x86_64.iso of=/dev/disk2; just make sure to update for your iso and disk use case.
| Step 3: | Boot and install |
|---|
Using the newly crafted usb stick, reboot your macOS and then hold the left alt/option button during next boot. You should see a second boot option next to macOS. Choose this and follow the instructions for your chosen distro to install. I won't use this time to go through specifics to get linux installed.
| Step 4: | Time to customize and have fun :) |
|---|
All major features are working out of the box for me, but I mainly had to fight the HiDPI support and touchpad configuration to get things working the way I wanted.
The issues with HiDPI I ran into were things like the mouse and the top title bar of gnome being extremely huge. TO fix this, after a couple days of fighting with it via gnome tweak tool, I found the command gsettings set org.gnome.desktop.interface scaling-factor 1. This is the one command that finally put all UI elements to the same size. Feel free to change 1 to whatever scale you are wanting. Also, if you are looking for fractional scaling, you will need to combine gnome scaling and X11 zooming in order to achieve this.
For the touchpad to work more inline to what I have become used to in macOS, I had to adjust some config for libinput. Below is what I ended up using:
Section "InputClass"
    Identifier "libinput touchpad catchall"
    MatchIsTouchpad "on"
    MatchDevicePath "/dev/input/event*"
    Driver "libinput"
    Option "NaturalScrolling" "true"
EndSection
Give it one more reboot or logout and back in to get everything back in sync and the rest is history. For more information about tweaking and fine tuning, definitely look towards the arch wiki for mbp.